Round 1: (Needle 1 – K to last 3 st, K2tog, K1); (needle 2 - K1, SSK, K to last 3 st, K2tog, K1); (needle 3 - K1, SSK, K to end) – 4 st decreased
Round 2: K all st
Repeat rounds 1 and 2, 8 times (32 st remain)
Repeat round 1, 4 more times (16 st rem)
And that's it. You will be left with 16 stitches. Put all the st from needle 3 onto needle 1, so that you have 8 st on each needle. Then to close the toe, you need to do the kitchener stitch. It's a little complicated but not really difficult.
You need to cut your yarn end. Give yourself about 12-18 inches of yarn still attached to the sock. Using a tapestry needle, you are going to weave that end in the stitches in order to close up the hole.
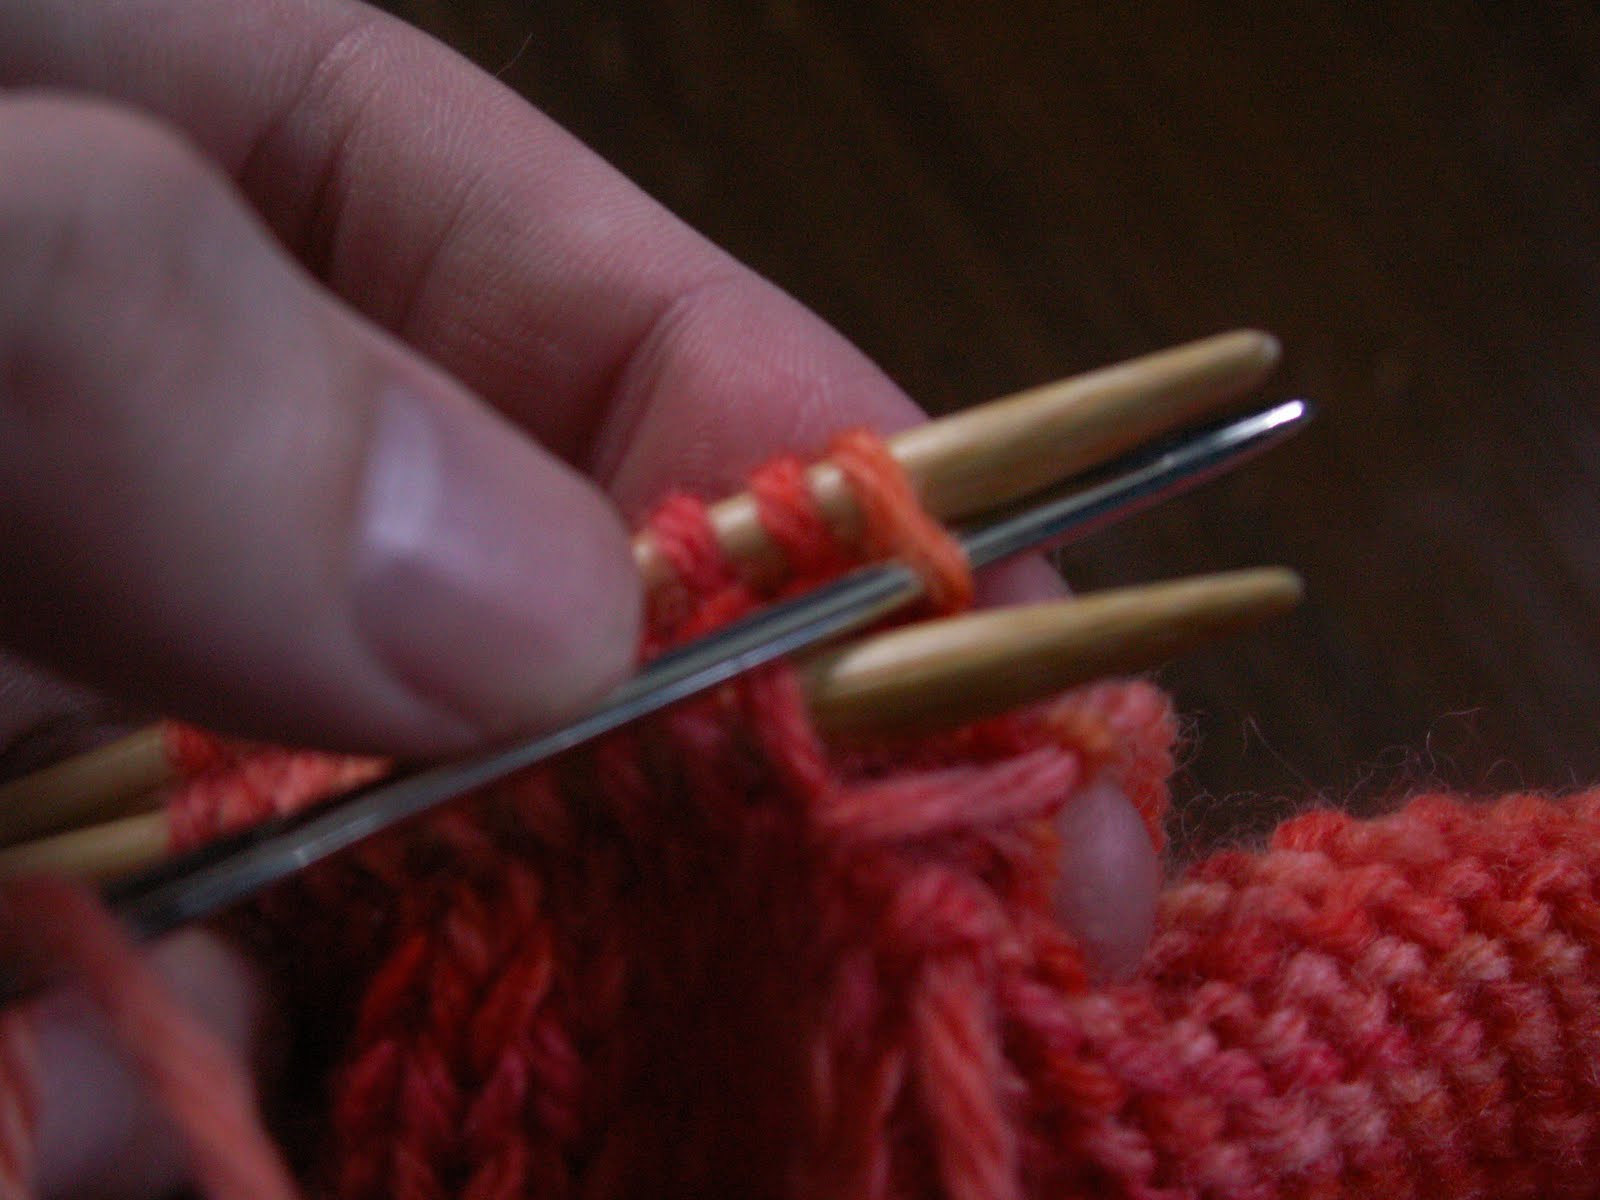
Kitchener stitch (this is not socks that I am working on, but it's the same technique, so disregard that!):
Here's what you have so far

Step 1 - Insert your tapestry needle into the first stitch on the front needle as if to knit, meaning from the front to the back. Pull the yarn all the way through, and then slip this stitch off your needle.

(Yours might look a little different because it's socks, but it's unimportant and not worth explaining why, haha.)

Step 2 - Insert your tapestry needle into the next stitch on the front needle as if to purl, from back to front. Pull the yarn through, and leave this stitch on the needle.

Step 3 - Insert your tapestry needle into the first stitch on the back needle as if to purl, back to front. Pull the yarn through, and slip this stitch off.


Step 4 - Insert your tapestry needle into the next stitch on the back needle as if to knit, front to back. Pull the yarn through, and leave this stitch on the needle.
Repeat these 4 steps until you are out of stitches. It sounds complicated, but as long as you keep track of where you are, it's not difficult to do.
After you finish that, it will look something like this.

Now just weave in any loose ends, and your sock is done! (I'm going to write up an actual pattern and post that soon also, with links to each post for reference.)

No comments:
Post a Comment